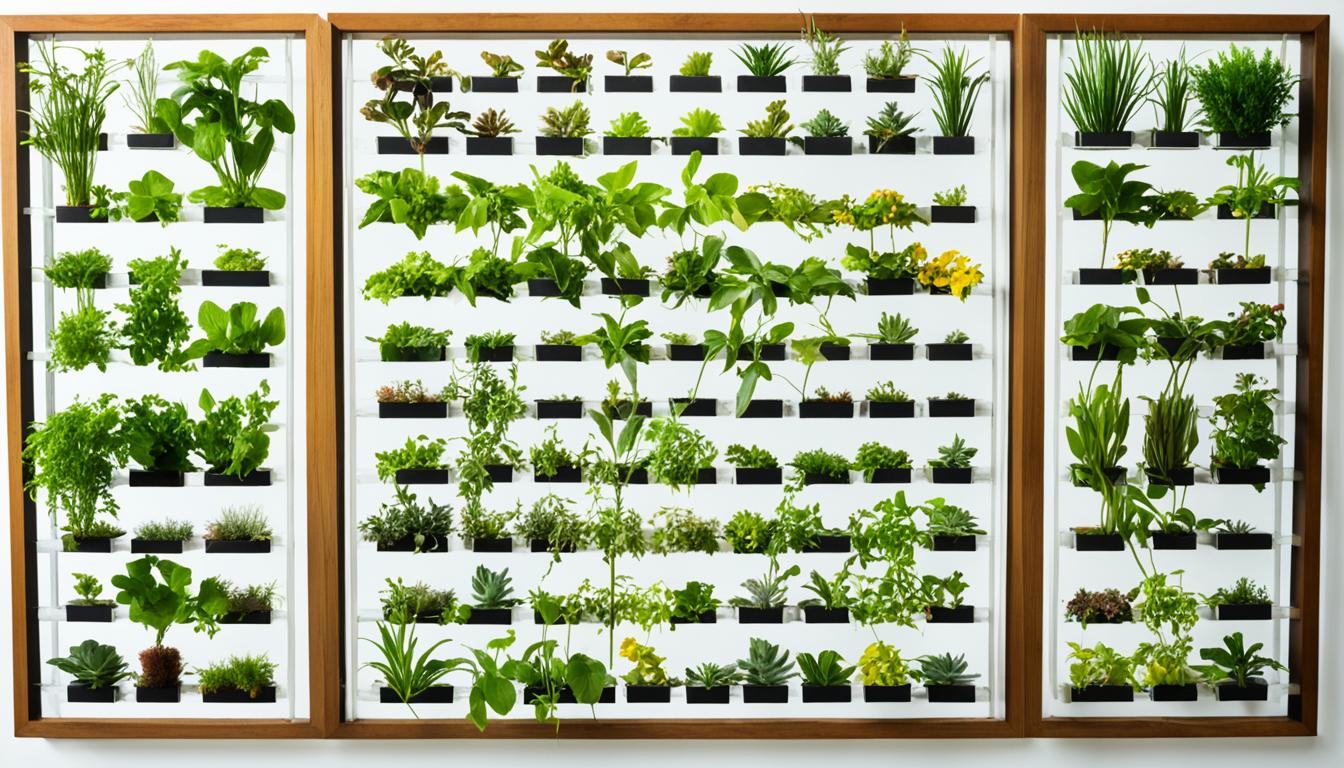
Ever thought about turning a plain wall into a stunning natural work of art? DIY living wall art is a great way to do just that. It’s a trend that’s sweeping through homes and offices, mixing nature with art in a unique way.
Living wall art is more than just pretty to look at. It helps you connect with nature, boosts air quality, and lowers stress. Whether you’re a pro at taking care of plants or just starting out, making your own plant wall can be fun and fulfilling.
You can choose from lush ferns to vibrant succulents for your green wall. Mix different plants, textures, and colors to make a piece that shows off your style. With proper care, your living wall can flourish for years, adding life and color to any space.
Key Takeaways
- DIY living wall art brings nature indoors
- Green wall decor improves air quality and reduces stress
- Plant wall art projects can be customized to fit any style
- Living walls offer a unique blend of functionality and aesthetics
- Creating your own green wall is a rewarding DIY project
Introduction to Living Wall Art
Living wall art brings nature inside with vertical gardens. This trend is popular in homes and offices across the U.S. Picture a wall covered in plants, making your space look stunning and feel like a green oasis.
These designs vary from small framed pieces to big installations. You can use real plants, preserved moss, or both. This makes living walls perfect for any room and style.
Biophilic design is key to living wall art. It aims to link people with nature indoors. Adding living walls to your home means you’re living a lifestyle that values nature and health.
“Living walls are like breathing paintings, constantly evolving and bringing life to our spaces.”
Vertical gardens have many benefits:
- Maximize space in small areas
- Improve indoor air quality
- Reduce stress and boost mood
- Create a unique, eye-catching feature
Exploring living wall art opens up many ways to bring nature inside. It’s great for plant lovers and beginners alike. Vertical gardens are a creative and fulfilling way to beautify your space.
Benefits of DIY Living Wall Art
Creating your own living wall art has many benefits for your home. It makes your space look better and improves your health.
Aesthetic Appeal
Living wall art makes any room look stunning. The greenery and textures add a natural touch. You can pick plants and arrangements that fit your style.
Improved Air Quality
Living walls are great for the air you breathe. They clean the air by removing pollutants and adding oxygen. This means cleaner air for you and your family, which is good for your lungs.
Stress Reduction
Living wall art does more than look good. Being around nature, even inside, lowers stress. The greenery in your home can make you feel calm and relaxed. This is good for your mind.
Adding living wall art to your home is smart. It’s not just for looks. It’s a way to make your space more beautiful and healthy.
Planning Your Living Wall Project
Planning your living wall is key to its success. Where you place your vertical garden is very important for its look and life. Let’s look at what to think about when making your living wall.
Choosing the Right Location
Pick a spot that gets enough light for your plants. Think about the wall’s structure and how much moisture it gets to avoid damage. Great spots include entryways, living rooms, or outdoor patios.
Determining Size and Scale
Your green wall should fit your space well. Measure the area and pick sizes that make a statement but don’t take over. You can go for a small accent wall or cover the whole wall from floor to ceiling.
Selecting a Design Style
Pick a style that matches your decor. You can choose from natural and organic to geometric patterns. Your vertical garden can be:
- A lush, forest-inspired design
- A structured grid pattern
- An abstract, artistic arrangement
| Design Style | Characteristics | Best For |
|---|---|---|
| Natural | Flowing, organic patterns | Relaxing spaces |
| Geometric | Structured, repeating shapes | Modern interiors |
| Abstract | Unique, artistic layouts | Creative environments |
By thinking about these things, you’ll make a beautiful green wall that makes your space better and brings nature inside.
Essential Materials and Tools
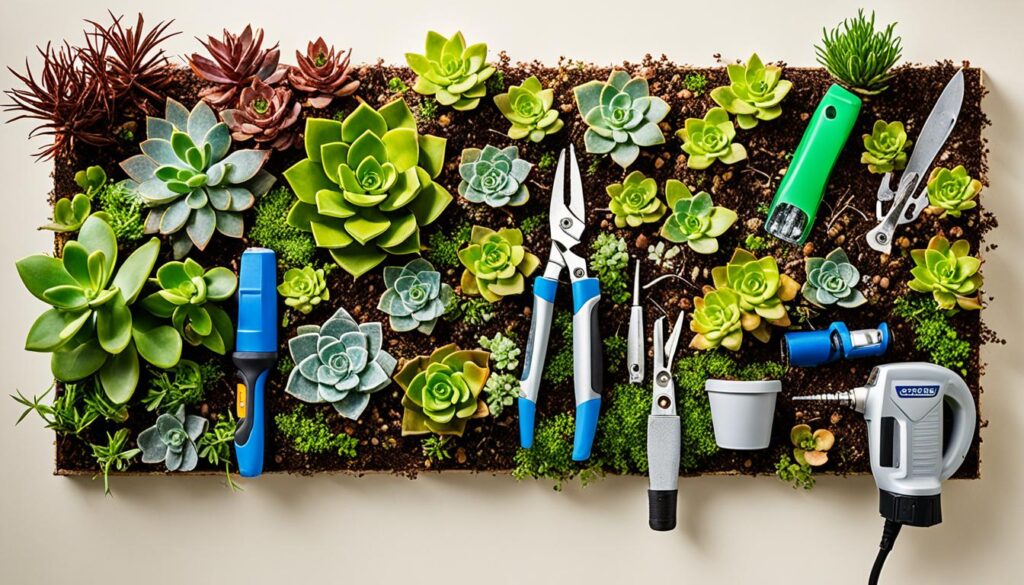
To make a beautiful living wall art, you need the right supplies. Start with wood panels or a strong frame for the base. Add texture and color with preserved moss like sheet moss or reindeer moss. For a natural look, use faux plants too.
Here are the key tools for a vertical garden:
- White craft glue
- Hot glue gun and glue sticks
- Scissors
- Paintbrushes
- Staple gun
For a live plant wall, you’ll also need:
- Waterproof backing material
- Plant containers or pockets
- Irrigation system (for big projects)
- Potting soil
- Live plants
Pick your materials based on your design and whether it’s a moss wall or a live plant wall. Choose tools and supplies that fit your project’s size and complexity.
“The right living wall supplies can make or break your green wall project. Invest in quality materials for a stunning, long-lasting result.”
With these key supplies and tools, you’re ready to start your green wall project. Now, it’s time to use them to create your masterpiece.
DIY Living Wall Art: Step-by-Step Guide
Are you ready to make your space look amazing with a green wall? This guide will help you through the process of creating a living wall. Follow these steps to make your own green wall masterpiece.
Preparing the Frame
First, pick a strong frame for your living wall. Wood panels or old canvases are good choices. Sand and paint the frame to fit your decor. Make sure it’s sealed to keep out water damage during plant care.
Installing the Backing
Put a waterproof backing on your frame. This keeps your wall safe and supports the plants. You can use plastic sheeting or special living wall membranes. Make sure it’s tight to stop sagging.
Setting Up the Plant Containers
Pick containers that fit your frame and plant layout. Attach them to the backing securely. For easy setup, use small pots or fabric pockets. Make sure they drain well to prevent root rot.
Planting and Arranging
Choose plants that grow well vertically. Think about how much light they need and how they grow. Arrange your plants in the containers, mixing different textures and colors. Start with big plants as the main focus, then add smaller ones around them.
| Step | Materials Needed | Time Required |
|---|---|---|
| Frame Preparation | Wood frame, sandpaper, paint | 2-3 hours |
| Backing Installation | Waterproof membrane, staple gun | 1 hour |
| Container Setup | Plant pockets, screws, drill | 2-3 hours |
| Planting | Plants, soil, fertilizer | 3-4 hours |
Now that your living wall is up, step back and enjoy your work. With regular care, your green wall will stay healthy and fresh. It will bring life and freshness to your space for many years.
Best Plants for Indoor Living Walls
Choosing the right plants for your indoor living wall is key to a thriving vertical garden. For busy homeowners, low-maintenance wall plants are perfect. They let you enjoy a living wall’s beauty without the constant care.
Think about plants that do well in indoor settings and get little sunlight. Here are some top picks for your green wall:
- Pothos: Fast-growing vines perfect for cascading effects
- Philodendron: Lush foliage that adds texture and depth
- Ferns: Delicate fronds bring a touch of elegance
- Dracaena: Striking, sword-like leaves for visual interest
- Anthurium: Colorful blooms to brighten your living wall
These plants are not just beautiful but also tough and easy to care for. You can train plants like pothos or philodendron to climb up the wall. Use removable adhesive hooks for a striking display.
| Plant | Light Needs | Water Frequency | Growth Rate |
|---|---|---|---|
| Pothos | Low to medium | Every 1-2 weeks | Fast |
| Philodendron | Low to medium | Every 1-2 weeks | Moderate |
| Ferns | Low to medium | Weekly | Slow |
| Dracaena | Medium | Every 2-3 weeks | Slow |
| Anthurium | Medium to bright | Weekly | Slow |
By mixing these plants, you can make a stunning vertical garden at home. Think about how much light your plants get and your watering schedule when picking them.
Maintaining Your Green Wall Art
Green wall care is key to keeping your living artwork looking great and healthy. A well-kept plant wall not only adds beauty but also purifies the air. Let’s look at important tips for keeping your green wall in top shape.
Watering Schedule
Watering your plant wall regularly is a must. Make a watering schedule based on what your plants need. Use lightweight plastic pots with drainage holes for walls without built-in irrigation. This makes watering easy and prevents overwatering.
Pruning and Trimming
Pruning your living wall often keeps it looking neat and stops plants from getting too big. Trim plants to keep them the right size and shape. Remove dead or yellowing leaves to help healthy growth and keep the wall looking good.
Pest Control
Check your green wall often for pests. You might find aphids, mealybugs, or spider mites. If you see any, use organic pest control to get rid of them quickly. This keeps your living wall healthy and looking great.
| Maintenance Task | Frequency | Importance |
|---|---|---|
| Watering | 2-3 times per week | High |
| Pruning | Monthly | Medium |
| Pest Inspection | Weekly | High |
Follow these tips for maintaining your green wall, and it will be a beautiful part of your space for years. Remember, regular care is essential to enjoy your living wall fully.
Creative Design Ideas for Living Wall Art
Unleash your creativity with living wall design inspiration that transforms your space. Your green wall can be a unique expression of style and nature combined. Let’s explore some creative plant wall ideas to spark your imagination.
Mix different plant types for visual interest. Combine ferns, succulents, and flowering plants to create depth and texture. Play with color by using plants with variegated leaves or bright blooms. This approach adds dimension to your living artwork.
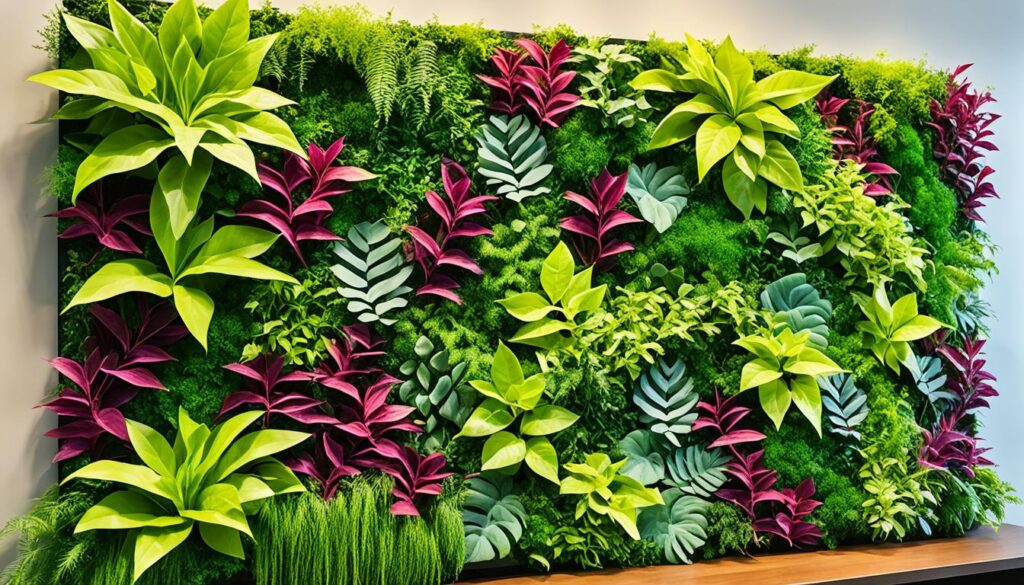
Incorporate natural elements for a rustic touch. Add pieces of driftwood, bark, or even small rocks to your vertical garden. These elements create contrast and bring an organic feel to your living wall art.
Try geometric patterns for a modern look. Arrange plants in triangles, squares, or circles. This technique adds structure to your green wall and creates a striking visual impact.
“Living walls are not just decorations; they’re breathing, growing pieces of art that change with the seasons.”
Experiment with unique vertical garden concepts like creating a gradient effect. Start with dark green plants at the bottom and gradually move to lighter shades at the top. This ombre look adds sophistication to your living wall.
| Design Concept | Key Elements | Visual Effect |
|---|---|---|
| Mixed Plant Types | Ferns, succulents, flowering plants | Depth and texture |
| Natural Elements | Driftwood, bark, rocks | Organic, rustic feel |
| Geometric Patterns | Triangles, squares, circles | Modern, structured look |
| Gradient Effect | Dark to light green shades | Sophisticated ombre appearance |
Remember, your living wall is a reflection of your style. Don’t be afraid to try bold ideas and make it truly your own.
Incorporating Moss in Your Living Wall
Moss can add a unique touch to your living wall art. It’s a low-maintenance option that brings texture and depth to your green decor. Let’s explore how to use moss in your DIY moss wall project.
Types of Moss for Wall Art
When creating moss wall art, you have several options. Sheet moss offers a lush, carpet-like look. Reindeer moss adds a fluffy texture, while sphagnum moss provides a rustic feel. Mix these types to create a visually interesting preserved moss decor.
Moss Application Techniques
To apply moss to your wall, use craft glue or hot glue. Work in small sections, pressing the moss firmly onto your backing. For a secure hold, try a spray adhesive. Remember to keep your moss wall art away from direct sunlight and heat to maintain its beauty. With these tips, you’ll create stunning moss wall art that brings nature indoors.
FAQ
What are the benefits of having a DIY living wall art?
DIY living wall art makes your space look beautiful by bringing nature inside. It also cleans the air by removing pollutants and adding oxygen. Plus, it can help reduce stress and make you feel better.
How do I plan for a successful living wall project?
Think about the light, wall type, moisture, size, and style you want. Make sure to consider the risk of water damage and protect against it.
What materials and tools do I need for a DIY living wall?
You’ll need wood panels, preserved moss, fake plants, glue, a hot glue gun, frames, and a backing material. Don’t forget plant containers, an irrigation system, scissors, paintbrushes, and a staple gun.
How do I create a living wall?
First, get your frame and backing ready. Then, apply glue or set up plant containers. Arrange your plants or moss how you like, secure everything well, and let it dry before hanging.
What are some low-maintenance plants suitable for indoor living walls?
Good choices include ferns, pothos, philodendron, dracaena, and anthurium. These plants are easy to care for and do well inside.
How do I maintain my living wall art?
Water your plants regularly, trim them, and check for pests. This will keep your living wall looking great.
What creative design ideas can I explore for my living wall art?
Try making abstract patterns, mix preserved moss with fake plants, or add natural things like lichen or driftwood. You can also make geometric shapes or use different shades of green for gradients.
How can I incorporate moss into my living wall art?
Use different moss types like sheet moss, reindeer moss, or sphagnum moss for texture. Apply it with glue or spray adhesive, doing it in sections for the look you want.
Source Links
- https://www.cottageonbunkerhill.com/how-to-make-diy-moss-wall-art/ – How To Make DIY Moss Wall Art
- https://jenniferrizzo.com/make-a-really-cool-abstract-moss-wall-art-canvas/ – Make a Really Cool Abstract Moss Wall Art Canvas – Jennifer Rizzo
- https://www.thespruce.com/living-wall-ideas-4798948 – 23 Indoor Plant Wall Ideas to Bring Life to Any Room


