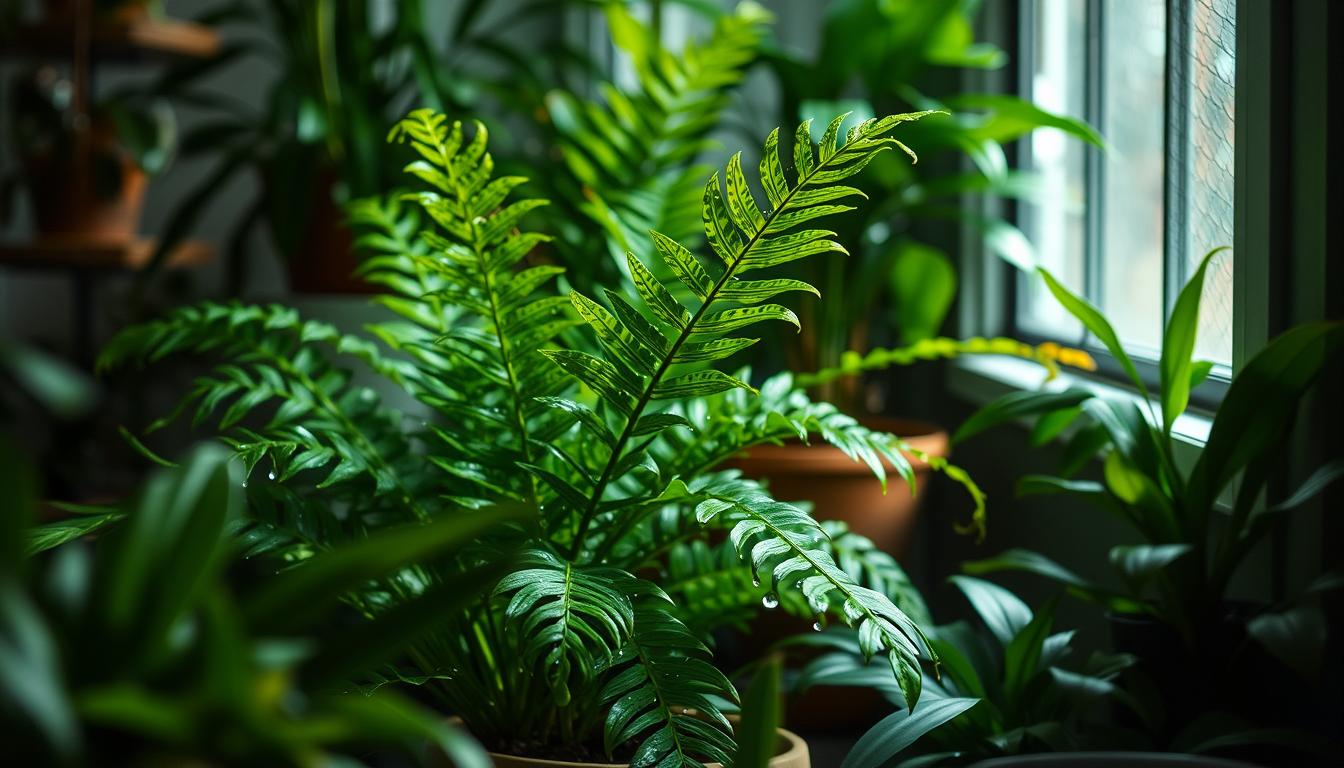
Bird’s Nest Ferns are easy to care for. They make great houseplants. Their long fronds and central rosette add tropical elegance to any room.
To keep your Bird’s Nest Fern happy, learn the basics. This includes watering, light, and humidity needs.
Bird’s Nest Ferns like bright indirect light but can handle low light too. They thrive in temperatures between 60º – 75º F. They also need humidity levels between 50% – 80%.
By knowing these needs, you can care for your Bird’s Nest Fern well. Enjoy the beauty of these plants in your home.
Introduction to Bird’s Nest Ferns
Exploring ferns, you’ll find the Bird’s Nest Fern. It’s known for its unique characteristics. Its crinkled leaves grow from a central rosette.
This fern loves high humidity and filtered light. It’s special because of this.
In nature, it grows on trees. It gets moisture and nutrients from the air. This lets it grow well in tough spots.
Some key facts about the Bird’s Nest Fern include:
- It can grow up to 5 feet tall and 3 feet wide.
- It likes temperatures between 18°C to 32°C (64°F to 89°F). It needs at least 50% humidity.
- It needs careful watering. Water every 1 to 2 weeks after the top inch of soil dries.
Knowing the Bird’s Nest Fern’s unique characteristics helps it thrive. It’s great for both new and experienced plant lovers.
| Characteristic | Description |
|---|---|
| Leaf Structure | Crinkled leaves growing from a central rosette |
| Natural Habitat | Epiphytic, growing on other plants in high humidity and filtered light |
| Temperature Preference | 18°C to 32°C (64°F to 89°F) |
Ideal Growing Conditions for Bird’s Nest Ferns
To make your Bird’s Nest Fern happy, know what it likes. It grows best in temperatures between 60-80°F. This is perfect for most homes. It also needs high humidity, over 50%, to keep its leaves soft.
Bird’s Nest Ferns love bright, indirect light. But, direct sunlight can burn their leaves. A spot near an east- or north-facing window is ideal. The Bird’s Nest Fern light requirements are medium to low indirect light. This makes its leaves crinkle the best.
Temperature and Humidity Preferences
Bird’s Nest Ferns do well in 70–90 degrees Fahrenheit. They need humidity over 50% to grow well, especially in dry places. The best soil for Bird’s Nest Fern should drain well and be rich in organic matter. This stops the soil from getting too wet.
The Importance of Shade
Too much light can make the fronds turn yellow and die. It’s important to give the right shade. Knowing the Bird’s Nest Fern light requirements helps keep it healthy. This way, you can enjoy its unique beauty.
Watering Your Bird’s Nest Fern
Watering your Bird’s Nest Fern right is key. Water it every 1-2 weeks. Let the top inch of soil dry out a bit before you water again. This keeps the roots healthy.
Don’t splash water on the plant’s center. It can rot. Water the edges of the pot instead. Make sure the soil is moist but not too wet. Stick your finger into the soil to check if it’s dry.
How Often Should You Water?
How often you water depends on your home’s temperature and humidity. Bird’s Nest Ferns usually need watering once a week. But, they might need more water when it’s warmer. Watch the soil and change your watering as needed.
Signs of Overwatering and Underwatering
Too much water can rot the roots. Too little water makes leaves dry and brown. Yellow leaves mean too much water. Brown, crispy leaves mean not enough water. Adjust your watering to keep your fern healthy.
Follow these tips to water your Bird’s Nest Fern well. Water every 1-2 weeks. Let the soil dry a bit before watering again. Adjust your schedule based on your home’s temperature and humidity.
Fertilizing Bird’s Nest Ferns
Fertilizing Bird’s Nest Ferns is key for their health. Use a balanced, water-soluble fertilizer from spring to fall. Make sure to dilute it to half strength to avoid harming the roots. For more tips, check out Bird’s Nest Fern care online.
Feed your fern once a month. Be careful not to get fertilizer on the leaves or crown. This helps your fern grow new leaves and stay green.
- Use a balanced, water-soluble fertilizer with an NPK ratio of 20-20-20 for balanced nutrition.
- Dilute the fertilizer to half-strength to prevent root burn.
- Apply the fertilizer once a month during the growing season.

Follow these tips for fertilizing and caring for your Bird’s Nest Fern. Regular fertilizing during the growing season will keep your fern healthy and vibrant.
Common Pests and Diseases
If you own a Bird’s Nest Fern, you should know about pests and diseases. Pests like scale and mealybugs can be treated with insecticidal soap or neem oil. Look for signs of pests or diseases, like yellow leaves or black spots, often.
Common diseases include root rot. This can be stopped by not overwatering and keeping air moving around the plant. Quick action can keep your fern healthy and strong.
To stop pests, keep humidity at 40-60% and air moving. Natural helpers like ladybugs can fight aphids. Keeping the area clean can cut pest numbers by 60%.
Here are some ways to fight pests and diseases:
- Check your fern often for pests or diseases
- Make sure air moves well around the plant
- Water carefully to avoid too much water
- Use insecticidal soap or neem oil for pests
By following these tips, you can keep your Bird’s Nest Fern healthy. This will stop pests and diseases from harming it.
Pruning and Maintenance Tips
Pruning your Bird’s Nest Fern is key for its look and health. Start by cutting off dead or damaged fronds. This stops disease and helps new growth. Use sharp, clean scissors or shears to avoid spreading diseases. You can learn more about pruning Bird’s Nest Fern with a few easy steps.
How to Prune Your Fern
When you prune, take off no more than one-third of the fronds at once. This avoids shocking the plant. You can also cut long fronds to shape your fern. Regular maintenance keeps your Bird’s Nest Fern looking great.
Routine Maintenance for Optimal Health
Also, dust the leaves with a soft brush or damp cloth. This keeps your fern clean and healthy. By following these simple maintenance tips, your Bird’s Nest Fern will thrive for years.
Here are some tips for routine maintenance:
- Water your fern when the top inch of soil feels dry
- Fertilize your fern every 2-4 weeks during the growing season
- Repot your fern every 1-2 years to maintain optimal health
By following these tips and doing regular maintenance, your Bird’s Nest Fern will stay beautiful. Enjoy its unique, curly leaves for years.
Propagating Bird’s Nest Ferns
Propagating Bird’s Nest Ferns is fun. It lets you share your plant with others. You can use Bird’s Nest Fern propagation through spores. These spores come from the underside of the fronds.
To start, put the spores in a moist peat-based mix. Then, cover it with a clear plastic bag. Keep it in a warm, shaded spot. Soon, you’ll see new growth.
Best Methods for Propagation
Here are some top ways to propagate Bird’s Nest Ferns:
- Spore propagation: This method involves collecting spores from the underside of mature fronds and planting them in a moistened potting mix.
- Division propagation: This method involves dividing the rhizome of a mature plant to create new plants.
Tips for Successful Rooting
For successful rooting, give your Bird’s Nest Fern the right care. It needs bright, indirect light and consistent moisture. With proper care, it will grow beautifully for years.
| Propagation Method | Description |
|---|---|
| Spore Propagation | Collecting spores from the underside of mature fronds and planting them in a moistened potting mix. |
| Division Propagation | Dividing the rhizome of a mature plant to create new plants. |
Repotting Your Bird’s Nest Fern
Your Bird’s Nest Fern will grow and need a new home. This is called repotting. It’s best to do this in the spring when it’s growing fast.
Check if your fern needs a new pot by looking for roots outside the pot or if it needs more water. If you see these signs, it’s time to repot. Pick a pot that’s just a bit bigger than the old one. Bird’s Nest Ferns like a snug fit.
Choosing the Right Pot
Choose a potting mix that drains well to avoid soggy soil. Make sure the pot has holes to let water out. Pick a pot that’s 2 inches bigger in diameter than the old one. This lets the roots grow.

When repotting, be gentle with the roots. Use a mix that drains well and don’t overwater. These steps will help your fern do well in its new home.
Post-Repotting Care
Keep the same light and temperature after repotting. This helps your fern recover. It might take a few weeks for it to fully adjust. With the right care, your fern will keep growing and looking great.
Companion Plants for Bird’s Nest Ferns
Choosing the right plants to go with your Bird’s Nest Fern is key. Look for plants that like high humidity and low light, just like the fern. Good choices include Peace Lilies, Spider Plants, and Philodendron. They all do well in low light and humid places.
These plants not only look good with the Bird’s Nest Fern but also help keep pests away and clean the air. For example, Peace Lilies keep insects away. Spider Plants fight off spider mites and other pests. Grouping these plants together helps all of them and cuts down on watering and fertilizing.
Here are some other plants that go well with Bird’s Nest Ferns:
- Calathea: Prefers indirect light and high humidity, making it a great match for Bird’s Nest Ferns.
- Bromeliads: Enjoy high humidity and can add a pop of color to your plant arrangement.
- Chinese Evergreen: Tolerates low light and prefers humid conditions, making it a suitable companion plant.
By picking the right plants, you can make a beautiful and healthy arrangement. Make sure the plants you choose like the same light and humidity as your Bird’s Nest Fern. This way, everyone will thrive together.
Seasonal Care Adjustments
As seasons change, your Bird’s Nest Fern needs care changes too. In winter, when it’s dormant, water and fertilize less. Keep the humidity around 40-50% with a humidifier to fight dry air from heaters.
Here are some seasonal care tips for your Bird’s Nest Fern:
- Water less often, letting the soil dry a bit more in winter.
- Don’t fertilize as much in winter when it grows slower.
- Keep it safe from frost in winter.
- Place it near a north or east window for soft light.
When moving it outside in spring, take a week or two to get used to the sun. Adjusting care with the seasons helps your fern thrive. Keep the soil moist but not wet, as part of your care.
Follow these tips for the best care all year. With the right care, your Bird’s Nest Fern will be beautiful all year.
| Season | Watering Frequency | Fertilization |
|---|---|---|
| Winter | Reduced | Paused or reduced |
| Spring | Increased | Resumed |
Troubleshooting Common Issues
Even with great care, your Bird’s Nest Fern might face some common problems. Yellow or brown leaves, and curled leaves, can happen. These issues might be due to too much water, not enough water, or low humidity.
When you see your fern’s leaves turn yellow or curl, check the soil first. Make sure the top inch of soil is dry before watering again. This helps avoid root rot from too much water. Also, keeping the air around your plant humid can stop leaves from getting dry and crispy.
If the problem doesn’t go away, you might need help from a pro. A local nursery or gardening expert can figure out what’s wrong. They can give you specific advice to fix your fern. With their help, you can fix any issues and keep your fern healthy and happy.
MORE RESOURCES:
If you would like to see more about other large stunning statement plants that can be a beautiful anchor plant for your indoor garden check out our article of 10 Stunning Large Indoor Plants HERE!
If you want to find other great houseplants to develop your indoor garden check out our list of 100 great houseplants that can help you begin to develop your indoor garden strategy at our Ultimate Guide To Houseplants.