Ever wondered how to keep your plants thriving even when you’re away? A DIY self-watering planter might be the answer you’ve been searching for. These systems give plants a steady water supply. This keeps your plants happy and healthy with little effort from you.
Self-watering planters have a smart sub-irrigation system. This lets plants drink water as they need it. You won’t have to guess when to water, and your plants won’t wilt from forgetfulness. They’re great for anyone with a vegetable garden, herbs, or houseplants.
Are you ready to try making your own self-watering system? This guide will help you, from picking the right container to setting up your DIY planter. Let’s start your journey to easy gardening!
Key Takeaways
- Self-watering planters provide consistent moisture for plants
- DIY systems are cost-effective and customizable
- Ideal for vegetable gardens, herbs, and houseplants
- Reduces the risk of over or under-watering
- Perfect for busy gardeners or frequent travelers
- Promotes healthier plant growth with less maintenance
Introduction to DIY Self-Watering Planters
DIY self-watering planters are changing the game for gardeners at all levels. They make taking care of plants easier and more efficient. Let’s dive into self-watering plant pot tutorials and see why they’re so popular.
Benefits of self-watering systems
Self-watering planters have many benefits:
- Water efficiency: Less water waste through evaporation
- Consistent moisture: Plants receive steady hydration
- Reduced maintenance: Less frequent watering needed
- Healthier plants: Proper moisture levels promote growth
How self-watering planters work
The magic of DIY automatic watering planters is in their design. They have two main parts:
- A water reservoir at the bottom
- A planting container with soil above
A wicking system connects these parts, bringing water up to the roots as needed. This setup ensures plants get the right moisture.
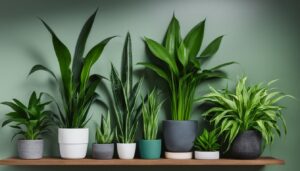
Ideal plants for self-watering containers
Many plants do well in self-watering planters. Some top picks include:
| Vegetables | Herbs | Houseplants |
|---|---|---|
| Tomatoes | Basil | Spider Plant |
| Peppers | Mint | Peace Lily |
| Lettuce | Parsley | Pothos |
With a self-watering plant pot tutorial, you can create the perfect spot for these plants and others. Get ready for lush, healthy plants with little effort!
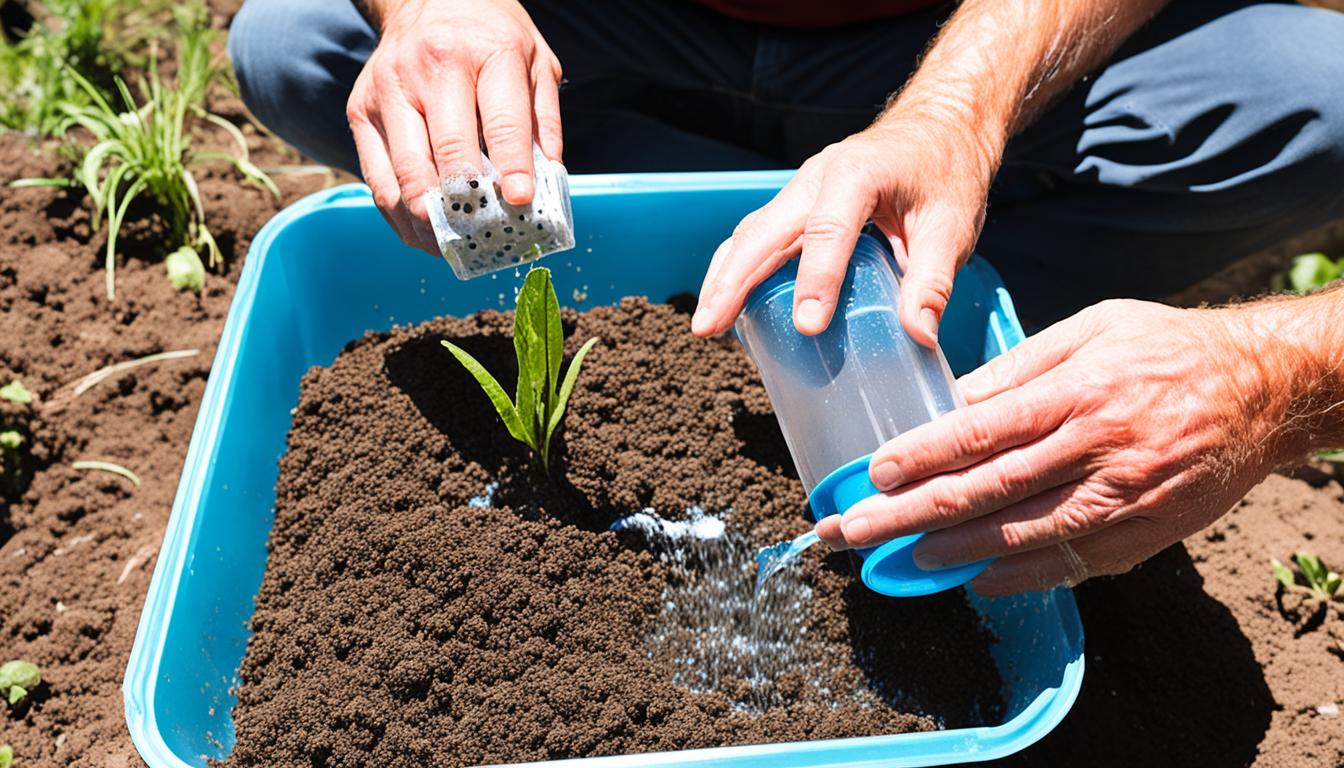
Materials Needed for Your Self-Watering Planter
Creating a DIY self-watering planter is a fun project that needs certain materials. Let’s look at the key supplies you’ll need to start.
You’ll need a container, which can be plastic, ceramic, or concrete. Also, get a plastic planter saucer, PVC pipe, and tools like a drill and handsaw. And don’t forget potting soil and landscape fabric for the plants.
For the wicking system, think about using a plastic bottle. A platform material, like a 5-gallon bucket lid, will help your plants. Sturdy containers can also offer extra support.
| Category | Materials |
|---|---|
| Container | Plastic, ceramic, or concrete planter |
| Water Reservoir | Plastic planter saucer, PVC pipe |
| Tools | Drill, handsaw |
| Planting Essentials | Potting soil, landscape fabric |
| Wicking System | Plastic bottle |
| Support | Platform material (e.g., bucket lid), sturdy containers |
With these supplies ready, you’re ready to start your DIY project. Choose materials that fit your planter’s size and style.
Choosing the Right Container for Your Project
Finding the perfect container is key for a successful self-watering garden. Your DIY planter box must meet certain needs for the best plant growth and water use.
Size Considerations
The size of your container depends on the plants you’re growing. Herbs and small flowers do well in smaller boxes. Vegetables, however, need more room. Aim for at least 6 inches of soil depth for most plants.
Material Options
There are various materials for your DIY planter box, each with its own benefits:
- Plastic: Lightweight, affordable, and keeps moisture in
- Ceramic: Looks good, keeps temperature steady
- Concrete: Lasts a long time, perfect for big projects
Watertight Container Importance
A container that won’t leak is crucial for self-watering systems. It keeps water in and plants hydrated. For outdoor setups, use strong materials like redwood or cedar. If you pick pressure-treated wood, line it inside to protect your plants.
| Material | Pros | Cons |
|---|---|---|
| Plastic | Affordable, easy to carry | Can break down in sunlight |
| Ceramic | Looks nice, keeps temperature even | Heavier, can be easy to break |
| Concrete | Very strong, doesn’t move easily once full | Tough to move when full |
Think about these points to make the best self-watering garden. The right container means healthy plants and easy care for your DIY planter box.
Creating the Water Reservoir
The water reservoir is the key part of your DIY self-watering system. It makes sure your plants get the right amount of moisture. This is what makes your homemade sub-irrigation planter work well. Let’s look at how to make this important part.

Your water reservoir will take up about one-third of your container’s space at the bottom. This setup lets you store a lot of water while still having room for soil and roots. To keep the reservoir separate from the soil, you’ll use a platform and landscape fabric.
Begin by measuring and cutting a piece of plastic or strong material to fit inside your container. This will be the platform. Then, drill small holes in it for water to flow through. After that, put landscape fabric over the platform. This fabric filters the water and keeps soil out of the reservoir.
Adding water to your DIY self-watering system is easy with a PVC pipe. This pipe goes from the reservoir up to above the soil. It acts as a watering tube, letting you add water without messing with your plants or soil.
- Cut a PVC pipe to the right length
- Drill holes in the part that goes into the reservoir
- Put the pipe upright in your container
- Secure it before adding soil
With your water reservoir ready, your homemade sub-irrigation planter is almost done. This setup gives your plants the water they need, helping them grow well and needing less watering.
DIY Self-Watering Planter: Step-by-Step Guide
Making your own self-watering planter is a fun and rewarding project. This guide will help you build a DIY sub-irrigation planter. Follow these steps to make a planter that keeps your plants healthy and hydrated.
Preparing the Container
First, pick a good container for your planter. Clean it well and drill holes for drainage and the water inlet. Make sure the container won’t leak by making it watertight.
Installing the Wicking System
The wicking system is key for your DIY planter. Use a plastic grid or mesh for the platform. Then, cut a piece of wicking material, like cotton rope or felt, and put it through the platform. This will help water reach the soil.
Setting Up the Water Level Indicator
Put a clear tube on the side of your container. This tube will show you when it’s time to refill your planter.
Adding the Potting Mix and Plants
Fill your container with potting mix that drains well, leaving room for your plants. Carefully add your plants, making sure their roots touch the soil. Water well to settle the soil.
| Step | Materials Needed | Time Required |
|---|---|---|
| Prepare Container | Container, drill | 15 minutes |
| Install Wicking System | Plastic grid, wicking material | 20 minutes |
| Set Up Water Indicator | Clear tube, silicone sealant | 10 minutes |
| Add Soil and Plants | Potting mix, plants | 15 minutes |
With these steps, you’ve made a self-watering planter. This DIY planter will keep your plants moist, helping them grow well and needing less water.
Understanding the Wicking Mechanism
The self-watering planter wicking system works by moving water from the reservoir to the plant roots. This happens through capillary action, a natural process that lets liquids flow up against gravity in narrow spaces.

The wick in self-watering planters connects the water reservoir to the soil. It’s made from materials that soak up water well, like:
- Cotton rope
- Fabric strips
- Synthetic cord
- Perlite or vermiculite
These materials have tiny channels that water moves through, similar to a paper towel soaking up a spill. As the soil gets dry, it pulls water from the wick. This keeps moisture levels steady for your plants.
| Wicking Material | Water Absorption | Durability |
|---|---|---|
| Cotton Rope | High | Medium |
| Synthetic Cord | Medium | High |
| Perlite/Vermiculite | Very High | Long-lasting |
How well capillary action works in planters depends on the soil type, wick material, and container size. Knowing these factors helps you set up your self-watering planter wicking system for better plant health.
Maintaining Your Self-Watering Planter
Keeping your self-watering planter in good shape is vital for your plants’ health. Here are some key tips for caring for your planters yourself. This will help your plants stay happy and healthy.
Checking Water Levels
It’s important to check the water levels in your self-watering planter often. Use a dowel rod to see how full the watering tube is. Add water when it’s about 1/4 full to keep your plants well-hydrated.
Fertilizing Tips
Fertilizing is crucial for your planters. You can put liquid fertilizer in the soil or mix it with the water in the reservoir. Fertilize every 2-4 weeks during the growing season for the best results.
Cleaning and Winterizing
Clean your planter once a year to keep it working well. Empty it, clean it with mild soap, and rinse well. Change the potting mix every few years. If it gets cold where you live, bring your planter inside or empty and store it to avoid damage from freezing.
| Maintenance Task | Frequency |
|---|---|
| Check water levels | Weekly |
| Fertilize | Every 2-4 weeks |
| Clean planter | Annually |
| Replace potting mix | Every 2-3 years |
Follow these tips for maintaining your self-watering planter, and you’ll have healthy plants with little work. Remember, regular care leads to a beautiful garden!
Troubleshooting Common Issues
Self-watering planter problems can be frustrating, but don’t worry! With some DIY planter troubleshooting, you can quickly get your green friends thriving again. Let’s explore some common issues and their solutions.
Clogged wicking systems are a frequent headache. If water isn’t reaching your plants, gently remove the soil and clean the wicks. Rinse them thoroughly and reassemble your planter. This simple fix often solves watering issues.
Algae growth in the reservoir is another challenge. To combat this, empty and scrub the reservoir with a mild soap solution. Rinse well and refill with fresh water. Consider adding a few drops of hydrogen peroxide to prevent future algae blooms.
Improper drainage can lead to waterlogged roots. Check your drainage holes and clear any blockages. If needed, drill additional holes to improve water flow. Remember, good drainage is crucial for plant health.
- Clean wicks regularly to prevent clogs
- Maintain a clean reservoir to avoid algae
- Ensure proper drainage to protect roots
By addressing these common self-watering planter problems, you’ll keep your plants happy and healthy. With a bit of attention and care, your DIY planter troubleshooting skills will improve. You’ll become a pro at maintaining your green oasis.
Advanced Self-Watering Planter Designs
Gardening fans are always on the lookout for better ways to care for their plants. Advanced self-watering planters are a big hit for both new and seasoned gardeners. They make watering plants easy and keep them consistently moist.
Multiple Container Systems
For those with big gardens or many plants, multiple container systems are a big deal. These planters let you link several pots to one water reservoir. It’s great for making a self-sustaining garden with little upkeep.
- Saves time by watering multiple plants at once
- Ensures consistent moisture across all containers
- Ideal for balconies, patios, or small urban gardens
Automated Watering Options
Automated DIY planters take self-watering further. They use timers or moisture sensors to water plants just when they need it. This is perfect for busy people or those who are often away.
| Feature | Benefit |
|---|---|
| Moisture Sensors | Prevent overwatering by detecting soil moisture levels |
| Timers | Schedule watering cycles based on plant needs |
| Smart Controls | Adjust watering based on weather conditions |
With these advanced self-watering planters, you can have a garden that almost takes care of itself. Whether you go for a system with many containers or automated watering, these tools make gardening easier and more fun for everyone.
Conclusion
Self-watering planters are a big deal for plant lovers. They make caring for your plants smarter and easier. They save time and make sure your plants get the right amount of water.
By making your own self-watering planter, you get many benefits. Your plants stay moist all the time, even when you’re not around. It’s great for busy people or those who travel a lot. Plus, it’s good for the planet because it saves water.
To make it work, you need to set it up and take care of it right. With the right steps, your plants will grow better and healthier. So, why not try it out? Start using these DIY gardening solutions and see your garden grow. Your plants will love the constant care, and you’ll have a beautiful garden with less work.
FAQ
What are the benefits of using a self-watering planter?
Self-watering planters save water and keep plants moist without much work. They stop over or under-watering, helping plants grow strong.
How do self-watering planters work?
They have a special design with a water reservoir and a wicking system. This system sends water to the plant roots as needed, thanks to capillary action.
What materials are needed to create a DIY self-watering planter?
You’ll need a container, a plastic planter saucer, PVC pipe, and a drill. Also, a handsaw, potting soil, and landscape fabric are needed. Optional items include a plastic bottle, platform material, and sturdy containers.
What factors should I consider when choosing a container for my self-watering planter?
Pick a container that fits the plants you’re growing. Use plastic, ceramic, or concrete for inside your home. For outside, choose redwood, cedar, or pressure-treated wood with a liner.
How do I create the water reservoir in a self-watering planter?
Make the water reservoir at the bottom of the planter, taking up about 1/3 of the space. Use a platform and landscape fabric to separate it from the soil.
How do I set up the wicking system in a self-watering planter?
Use materials like vermiculite, peat moss, or a soil-filled container with holes for the wicking system. It pulls water from the reservoir to the roots through capillary action.
How do I maintain my self-watering planter?
Check the water level in the reservoir often, using a dowel rod through the watering tube. Add fertilizer to the soil or reservoir water. Clean the planter and replace the potting mix every few years.
What common issues might I encounter with a self-watering planter?
You might face clogged wicking systems, algae in the reservoir, or poor drainage. Clean the system, adjust the soil mix, or fix the drainage holes to solve these problems.
How can I create advanced self-watering planter designs?
For advanced designs, use multiple containers for big gardens or automated watering with timers or moisture sensors. These can be tailored for different sizes and shapes of planters.
Source Links
- https://www.anikasdiylife.com/diy-self-watering-planter/ – DIY Self Watering Planter – How To Build W/PLANS – Anika’s DIY Life
- https://www.cravingsomecreativity.com/self-watering-planter/ – Make Your Own Self-Watering Planters (+video)
- https://littlevictorian.com/how-to-make-a-self-watering-planter/ – How to make a self-watering planter from any pot | Little Victorian